> For the complete documentation index, see [llms.txt](https://docs.lightact.com/llms.txt). Markdown versions of documentation pages are available by appending `.md` to page URLs; this page is available as [Markdown](https://docs.lightact.com/integrations/content-io/realsense.md).
# RealSense
This section outlines the essential steps for receiving video through RealSense.
## Receiving RealSense
### Setup in Devices window
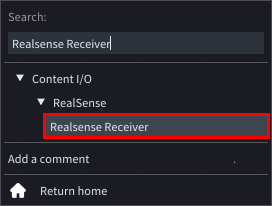
To insert a device node, right-click on the Devices window and select **RealSense Receiver** under the *Content I/O -> RealSense* collapsible.
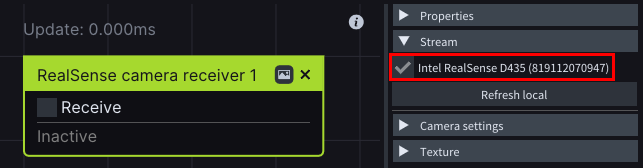
After selecting the device node, a set of node properties will appear on the right side of the *Devices* window.
Under the *Stream* collapsible, you will see a list of all the RealSense cameras connected to your machine. To choose the specific camera you want to receive a stream from, simply click on it.
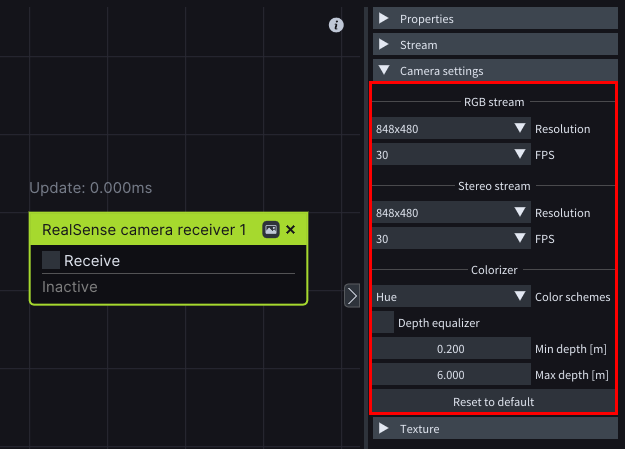
In the *Camera settings* collapsible you can modify the settings of your incoming depth camera stream such as the resolution and frame rate.
{% hint style="info" %}
**Good to know**: The properties under the *Colonizer* section can be adjusted even after you start receiving the stream.
{% endhint %}
Finally, click on the **Receive** checkbox of the *RealSense camera receiver* node.
### Setup in Layer Layouts
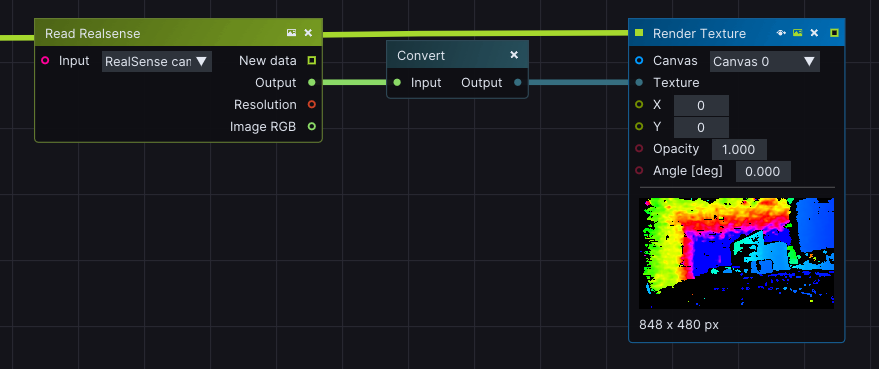
To visualize the RealSense texture received in the *Devices* window, insert a **Read RealSense** node and select the correct **Realsense camera receiver device** in the *Input* pin of the *Read RealSense* node.
Once the node has an active connection, you will be able to see the texture provided by the RealSense camera in the *Layer Layouts*, as well.