> For the complete documentation index, see [llms.txt](https://docs.lightact.com/llms.txt). Markdown versions of documentation pages are available by appending `.md` to page URLs; this page is available as [Markdown](https://docs.lightact.com/layers-and-layouts/stock-layer-templates/control-layer-templates/receive-message.md).
# Receive message
Category: Control
**Receive message** layer template is designed to allow you to receive message from various receivers such as UDP, TCP or OSC and trigger different actions based on them.
## Variables
### Default
* **Device**: Select the device which you want to use as the receiver of the message.
## Setting up
### **1. Create the appropriate Device node**
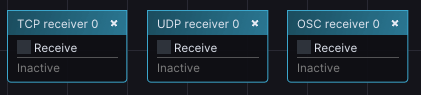
In the Devices window, create an appropriate *Receiver* device node. Set it up the way you want and check the **Receive** checkbox. For more information you might want to refer to the [Network page](/integrations/network.md).
### **2. Inserting the layer**
**Through the right click menu**
Right click in the *Timeline*, select *Control* category and choose **Receive message** layer.
### **3. Set up the layer**
Set up the variables of the layer and choose the device you created in step 1.
### **4. Open the Layout**
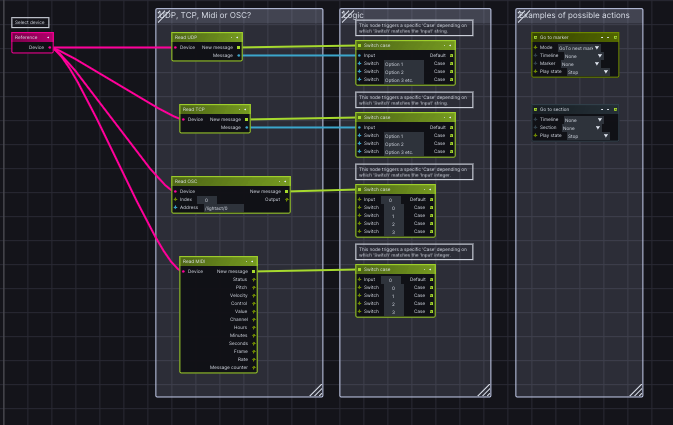
Open the Layout by double clicking on the layer. In the *Logic* group of nodes, you see a number of *Switch Case* nodes. They are designed to trigger a different Lifeline output pin depending on the input.
Connect the desired *Case* output of the selected *Switch Case* node with the desired action node, such as *Go to marker* or *Go to section* node.