> For the complete documentation index, see [llms.txt](https://docs.lightact.com/llms.txt). Markdown versions of documentation pages are available by appending `.md` to page URLs; this page is available as [Markdown](https://docs.lightact.com/real-time-content-playback/unreal-engine-integration-overview/unreal-engine-integration-troubleshooting/texture-sharing-troubleshooting.md).
# Texture Sharing Troubleshooting
If you cannot get Texture Sharing to work on your computer, please follow this guide. It will allow give you more details into what might be the problem.
In this guide, we'll walk you through the required steps to get texture sharing working from Unreal Engine to LightAct.
{% hint style="info" %}
**Good to know**: We used **Unreal Engine 5.1.1** and **LightAct 4.2.2** for this tutorial. The steps might be different if you are using different versions.
{% endhint %}
{% hint style="warning" %}
The most common cause of problems that we've encountered, is that there is a space in the filepath of the .ndisplay configuration file. Please always use filepaths without any spaces.
{% endhint %}
## Setup in Unreal Engine

1. Launch Unreal Engine 5.1.1 from Epic Games Launcher.

2. Create a new project with the **nDisplay template** which you can find in the *Film / Video & Live Events* category.

3. Copy our plugin into **Plugins** folder.
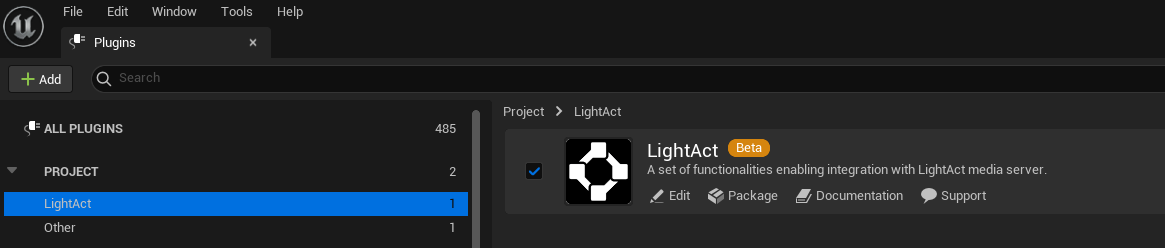
4. Make sure it is enabled in the Plugins window of your Unreal Engine project.
## Setup in LightAct

1. Start from a blank new project and drag the **.uproject** file of your Unreal Engine project into LightAct's window. It should appear in the **Assets** window.

2. Make sure you have the correct version of Unreal Engine set in the *Project Settings*.
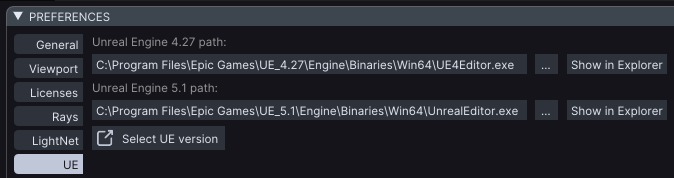
3. Make sure you have the paths to Unreal Engine editor executables set in *Preferences* window.
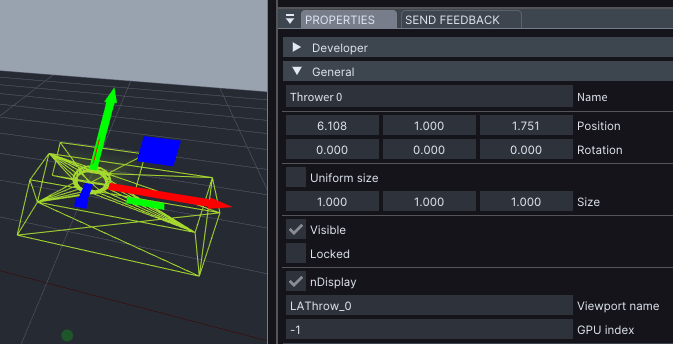
4. Insert one Thrower and make sure it has nDisplay checkbox checked.

5. Open **UnrealLink** window and select your **.uproject Unreal Asset**.
6. Generate **nDisplay config file**. Make sure it's actually generated and that it hasn't just set its filepath (just click twice on **Generate config** file button).
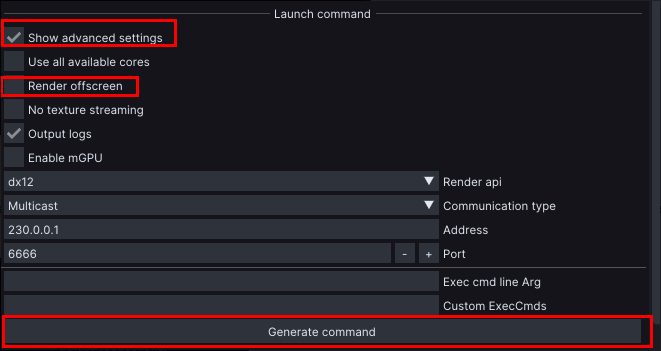
7. In the **Launch command** section, enable **Show advanced settings** and uncheck **Render offscreen** checkbox. Then click on **Generate command** button.

8. Click on **Launch nDisplay** button.
After a few seconds, a 1920x1080 px output window should open on your primary screen because we disabled *Render offscreen* checkbox (this is useful for troubleshooting).
{% hint style="info" %}
If you've made it this far, it means LightAct can successfully launch nDisplay cluster. That's good!
{% endhint %}
What if I don't see the nDisplay output window?
If you don't see the nDisplay output window, then try launching the same Unreal Engine project withe NDC\_Basic nDisplay configuration using Unreal's Switchboard.
Please refer to Unreal Engine's documentation for help on how to do that.
### Getting the texture into LightAct
Now that we know that LightAct can successfully launch nDisplay cluster, let's get that texture into LightAct.
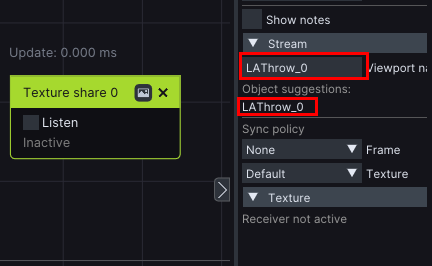
1. Open *Devices* window, insert a **Texture Share** node and click on **LAThrow\_0** under Object suggestions so that it appears in the *Viewport name* input box.
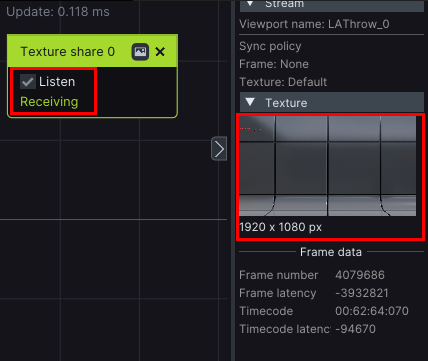
2. Enable **Listen** checkbox and the texture should appear on the right hand side.
{% hint style="info" %}
**Good to know**: this is an abreviated process which doesn't include some steps, but it does include what's required to get the texture accross.
{% endhint %}
What if I still can't get the texture across?
If you are still having issues, please send us:
* LightAct's project file (it has .la extension)
* nDisplay configuration file you generated from LightAct (it has .ndisplay extension).
* Details of the versions of the software you are using
* System description you are running on especially the GPUs and the CPUs