> For the complete documentation index, see [llms.txt](https://docs.lightact.com/llms.txt). Markdown versions of documentation pages are available by appending `.md` to page URLs; this page is available as [Markdown](https://docs.lightact.com/real-time-content-playback/unreal-engine-integration-overview/required-unreal-engine-plugins/setting-up-the-plugin/lightact-custom-time-step.md).
# LightAct Custom Time Step
Setting up **Custom Time Step** allows LightAct to control Unreal's render cycle.
{% hint style="info" %}
**Good to know: Custom Timestep** feature in Unreal is closely related to (and mostly used for) **Genlocking**. We use these terms interchangeably.
{% endhint %}
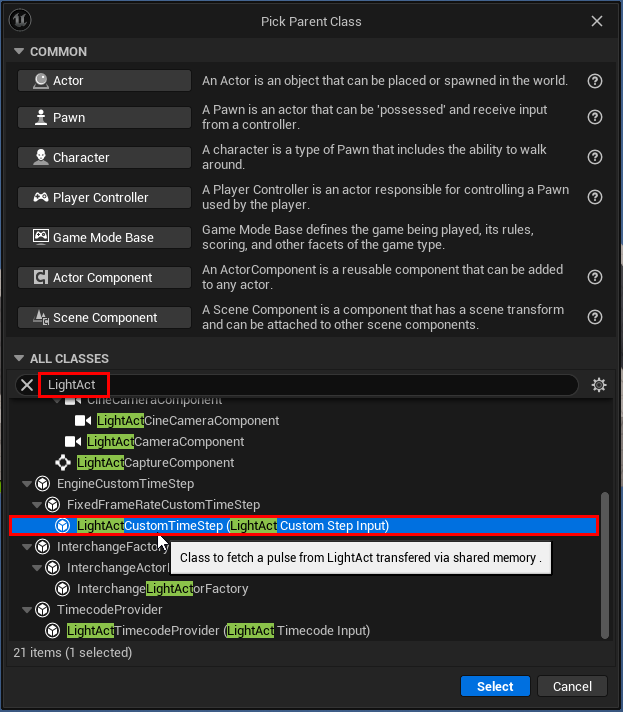
To do that, create **a new Blueprint Class Asset**.
In the *Pick Parent Class* window that appears, type in *Timestep* in the search box and then select **LightActTimeStep**.
Name the new asset any way you want, but remember the name, as you'll need it soon.
## Enabling LightAct Time Step
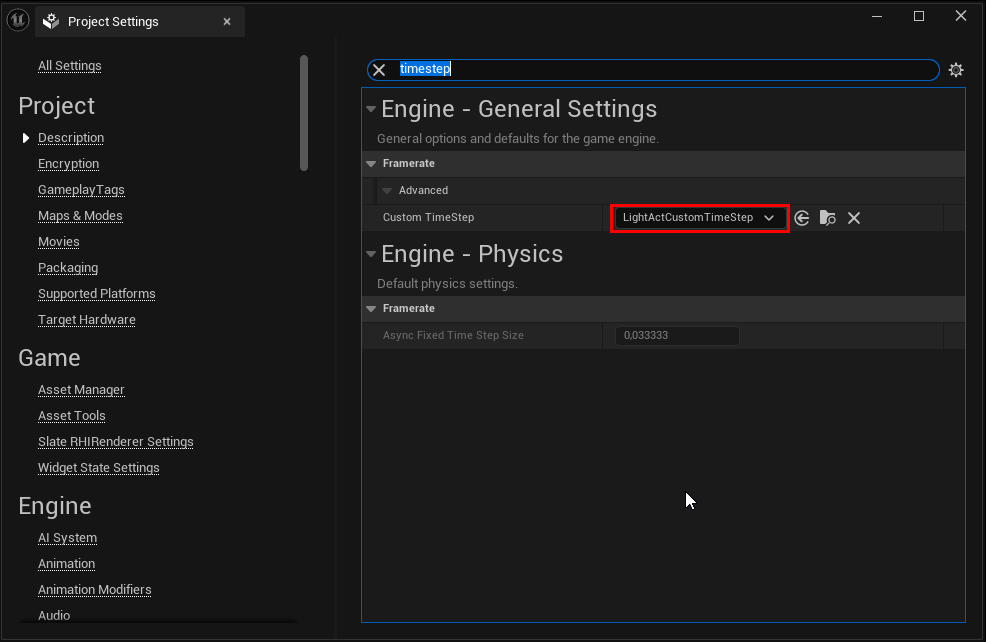
In the **Project Settings** window, type in **TimeStep** in the search box and then in the **Custom TimeStep dropdown**, select the **actor** you created in the previous step.
### Monitoring Genlock

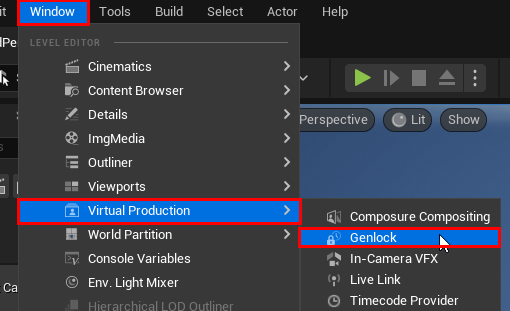
You can view the presence of a genlock signal (Custom Timestep) if you open **Genlock** window.
You can do that by going to **Window -> Developer Tools -> Genlock**.
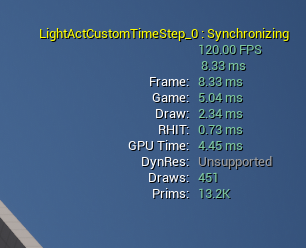
You can also use **stat fps** and **stat unit** console commands for some additional information.