> For the complete documentation index, see [llms.txt](https://docs.lightact.com/llms.txt). Markdown versions of documentation pages are available by appending `.md` to page URLs; this page is available as [Markdown](https://docs.lightact.com/layers-and-layouts/layer-layouts/nodes/texture-processing/lut.md).
# LUT
*Texture LUT* node applies a LUT, also known as Look Up Table, to an image. This node is useful for enhancing the color or contrast of an incoming texture.
## Setup
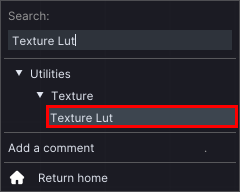
To use the node, you first have to insert it in the *Layer Layouts*. You can find it in the dedicated *Search bar*, under **Utilities -> Texture** collapsible.
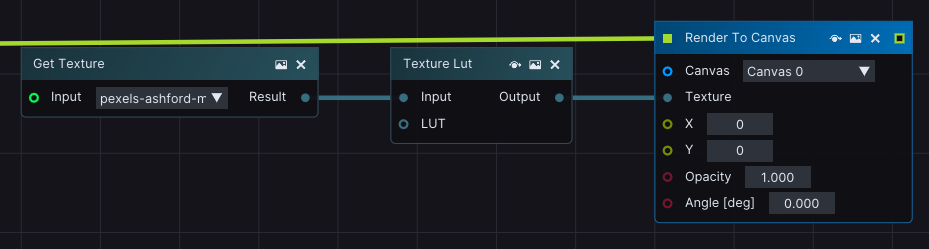
Give the *Texture Lut* node a *Texture input* and connect it to an active *lifeline*.
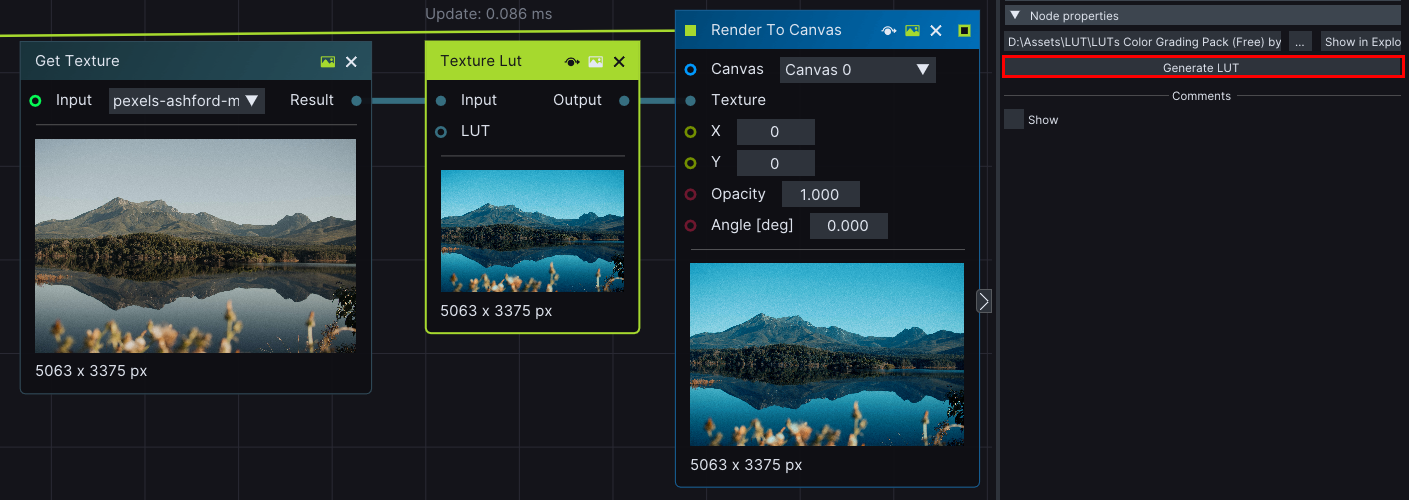
To use apply a pre-existing LUT to the chosen *Texture input*, select the *Texture Lut* node and navigate to its **Node properties**, on the right-hand side of the *Layer Layouts* window. Under the **Node properties** collapsible, click on Browse button and locate the LUT file in *File Explorer*.
Finally, click **Generate LUT** button to see the results.
{% hint style="info" %}
**Good to know:** LightAct supports *\*.3dl* and *\*.cube* file types, as well as a *Texture* as a LUT input.
{% endhint %}