> For the complete documentation index, see [llms.txt](https://docs.lightact.com/llms.txt). Markdown versions of documentation pages are available by appending `.md` to page URLs; this page is available as [Markdown](https://docs.lightact.com/layers-and-layouts/layer-layouts/nodes/computer-vision/combine.md).
# Combine
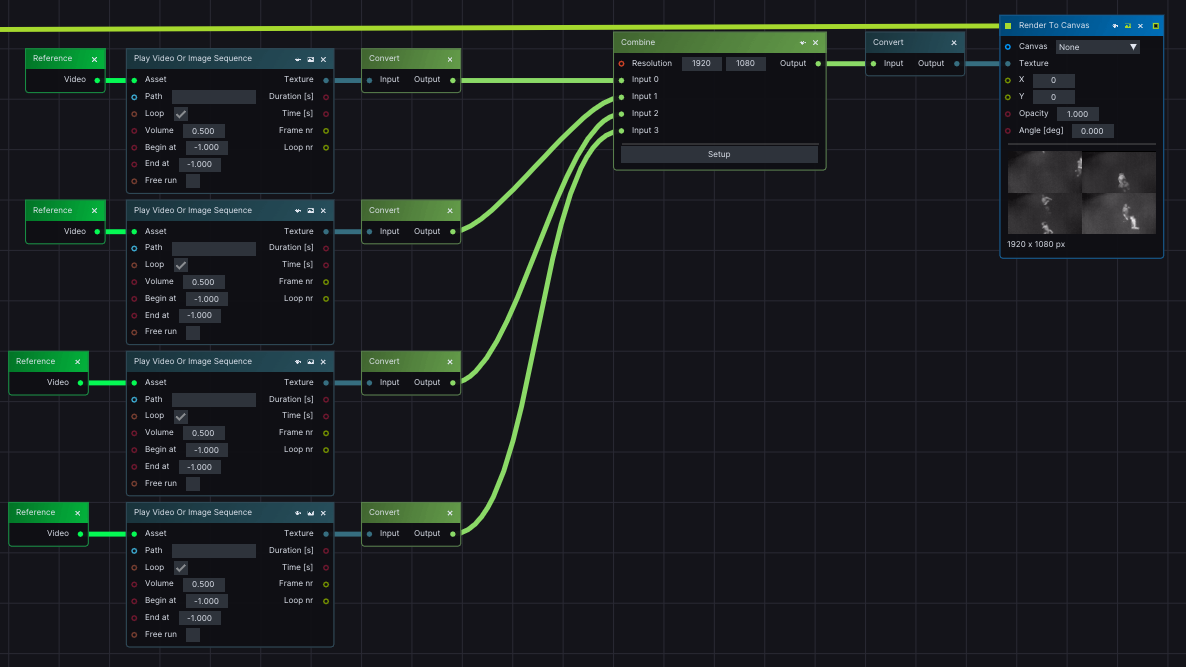
Sometimes you may want to combine multiple CV Mats together and run computer vision algorithmy on the combined feed. This is usually the case if you have, for example, multiple overlapping cameras covering the same area.
In this case, you can use the **Combine** node.
## Input pins
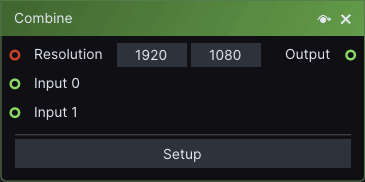
* **Resolution**: number of width and height pixels for the CV Mat which will be outputted.
* **Inputs**: each pin represents a single incoming CV stream, which will be combined together with the other inputs to a single output.
## Output pins
* **Output:** CV stream which outputs all incoming streams together, through a single CV Mat.
## Node properties
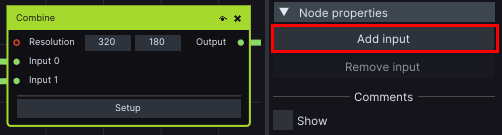
In the properties of the *Combine* node, you can increase the number of inputs, by clicking on **Add input** button in the node properties. Similarly, you can remove the number of inputs by clicking on **Remove input** button.
{% hint style="info" %}
**Good to know**: This node needs to have at least two inputs.
{% endhint %}
## Setup window
Once you choose the desired number of inputs, it is time to arrange them as pleased, so they look exactly as desired relative to each other on the Output texture. For this, the **Combine** node offers a *Setup* window in which each CV input acts like a polygon that can be easily repositioned, reshaped, or rescaled within the borders of the Combined texture.
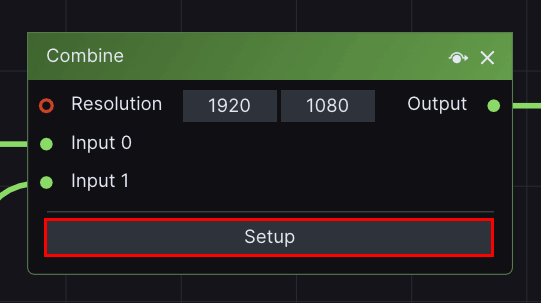
You can open the *Setup* window by clicking on the **Setup** button of the node.
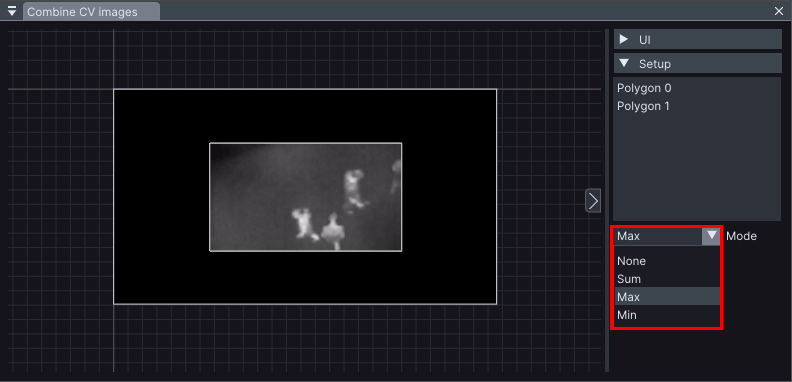
In this window, you will be able to see all inputs as polygons, listed under the *Setup* collapsible. Below this list, you can choose one of several combining modes for the overlapping polygon areas such as Max, Min, Sum, or simply None.
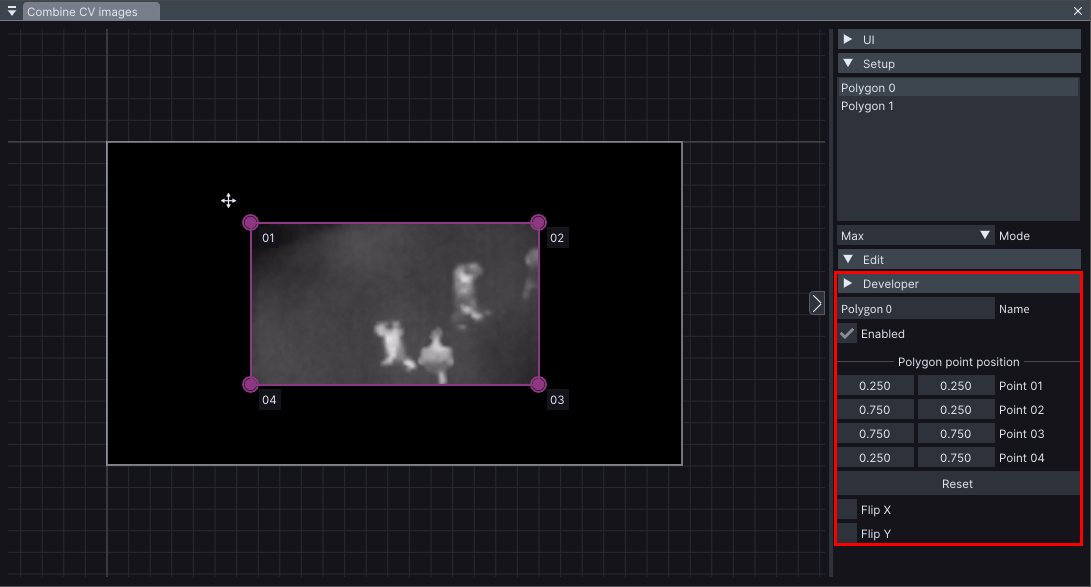
To select a polygon, simply click on its name on the list. Once you do so, a new collapsible called *Edit* will appear, displaying properties unique to the selected polygon.
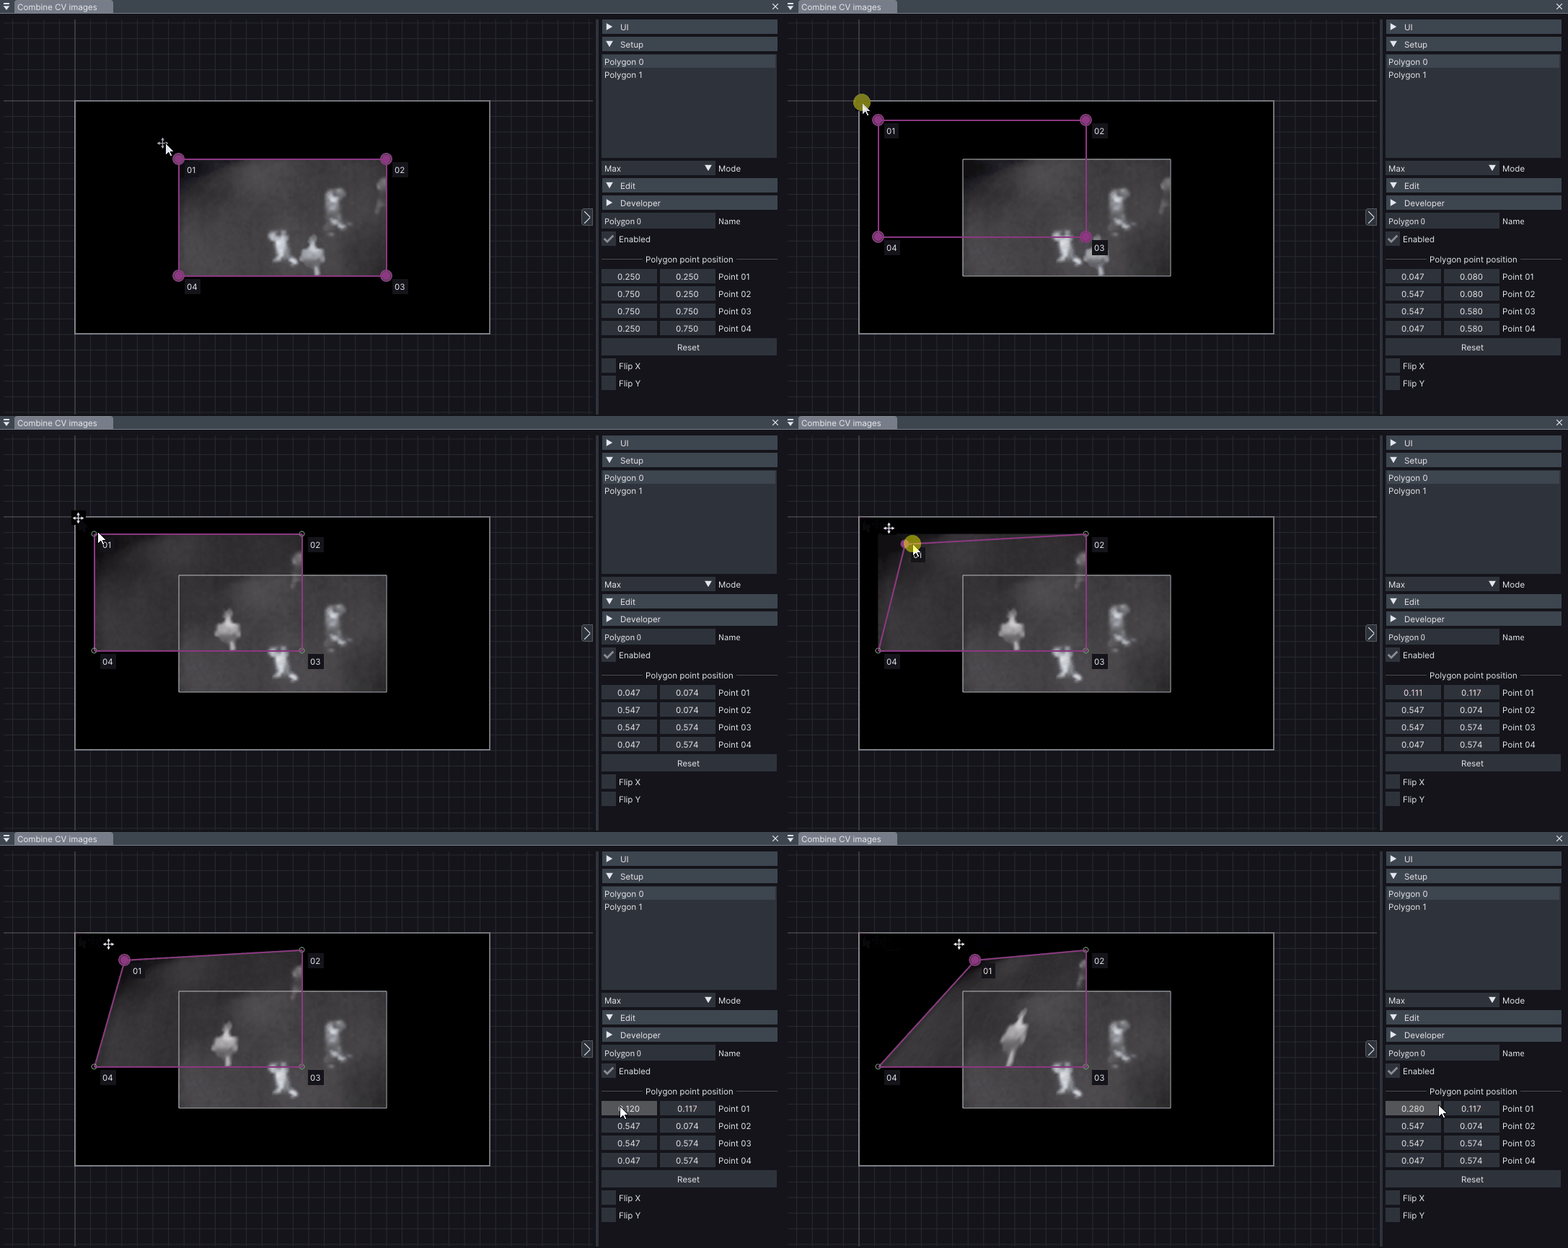
To move a polygon point around, you can select the specific point and drag it to the desired location. Another way to achieve this is by adjusting the X and Y values of that point under the *Polygon points position* section.
Clicking on **Reset** button will restore the initial positions of all polygon points. You can also perform a horizontal or vertical flip on the polygon by enabling the **Flip X** and **Flip Y** checkboxes.
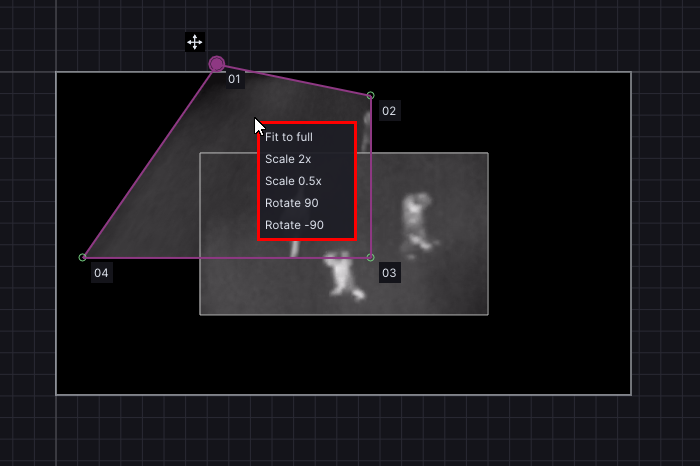
To scale or rotate the polygon, simply right-click on it and choose the desired entry from the menu.