> For the complete documentation index, see [llms.txt](https://docs.lightact.com/llms.txt). Markdown versions of documentation pages are available by appending `.md` to page URLs; this page is available as [Markdown](https://docs.lightact.com/layers-and-layouts/fast-layer-workflows.md).
# Fast layer workflows
There are many different actions and shortcuts that can make your workflows faster and more efficient. Let's go through them.
## Creating layers
There are several ways to insert a layer.
### With right click menu
One way, though the slowest, is to find the template in the menu.
You can also right-click and start typing the template's name or one of its search keywords and then hit Enter.
### With shortcuts
When you find a stock template in the right-click menu, you will see that most of them have a shortcut assigned to them. For example, for a video layer template, the shortcut is V.
You can create a layer by simply holding this shortcut and clicking with a left mouse button (LMB). If you want to create a video layer the shortcut would be V+LMB.
Another way is to hold Alt and hitting this key. If you want to create a video layer the shortcut would be Alt+V.
{% hint style="info" %}
**Good to know**: the mouse needs to be in the Timeline editor window for this to work.
{% endhint %}
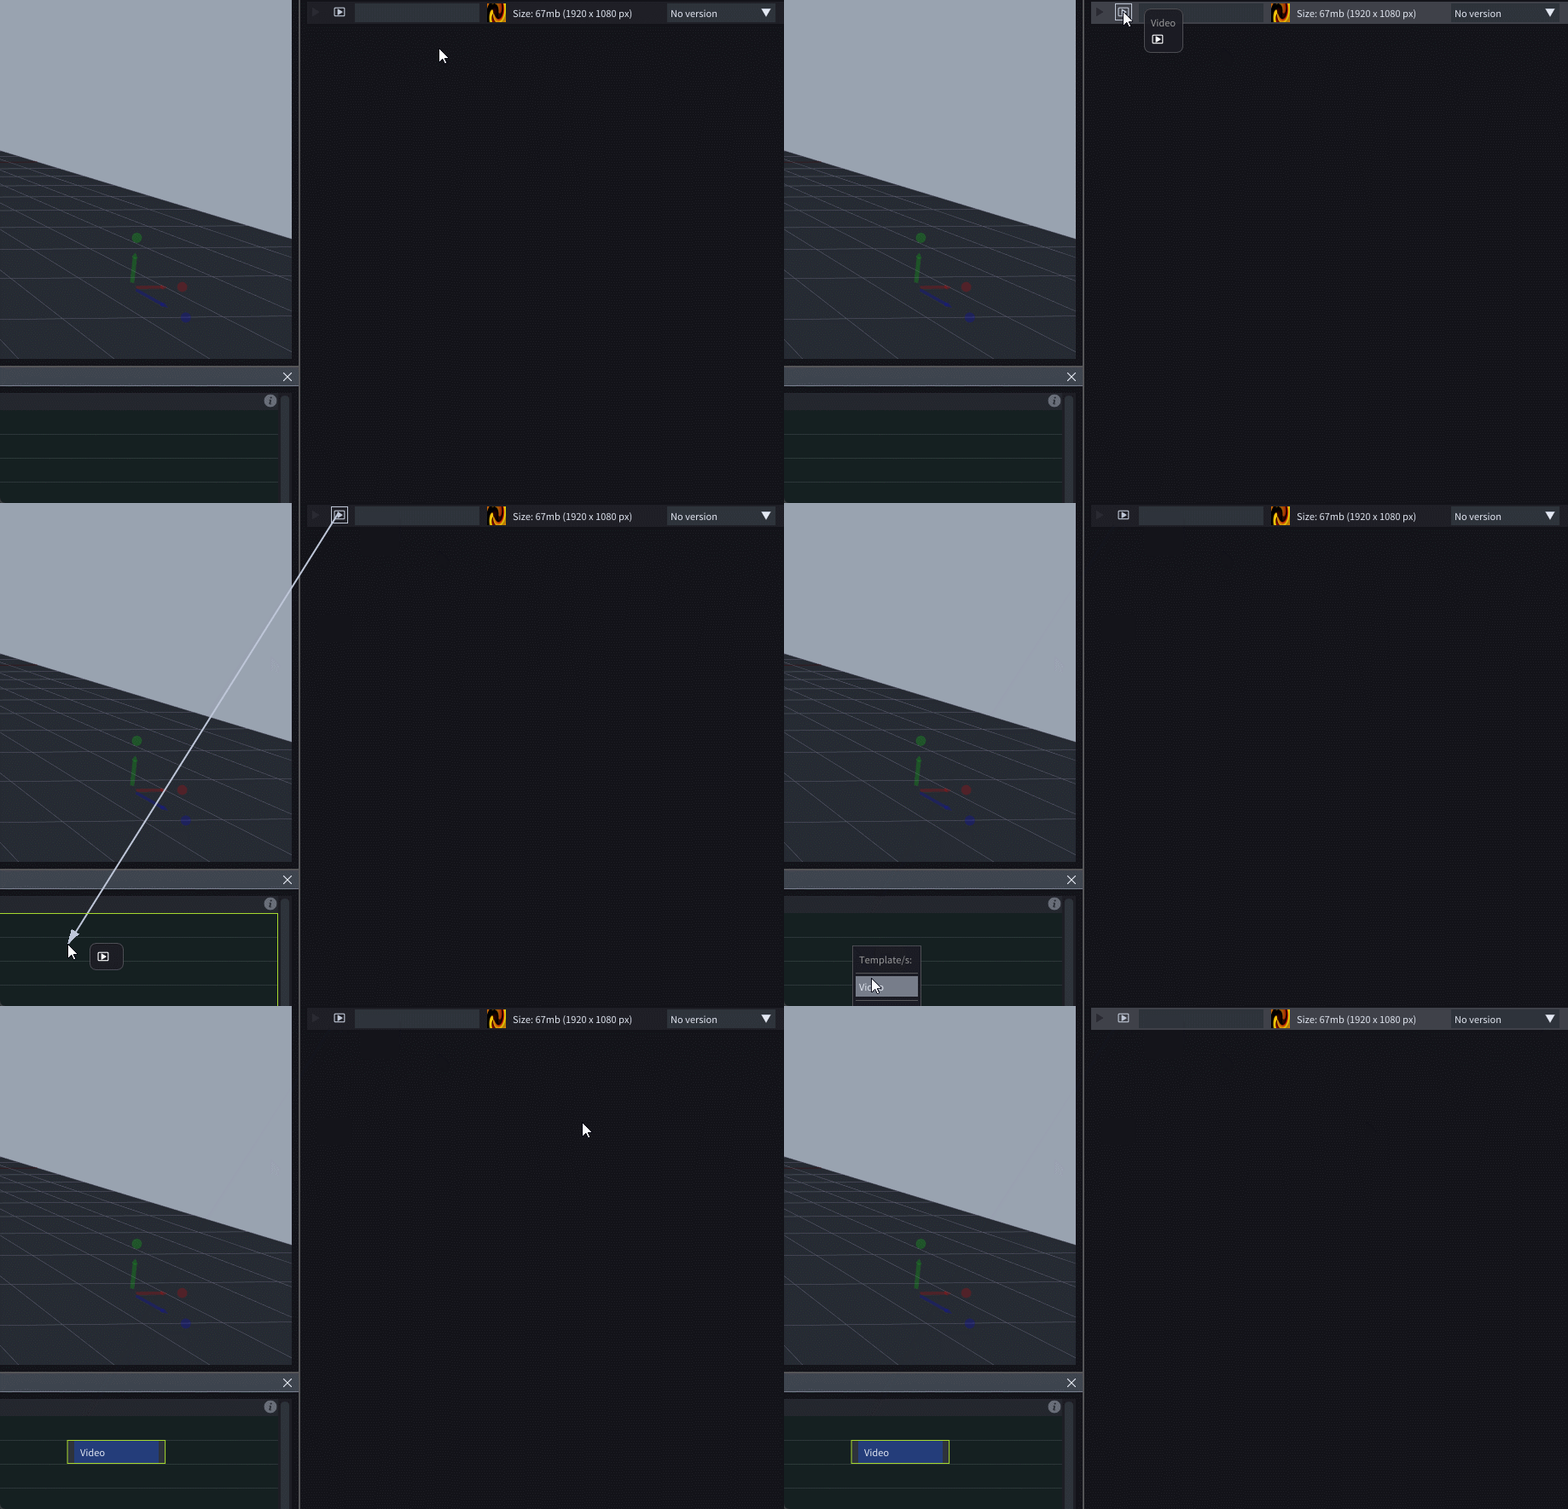
### By dragging and dropping
If you drag an asset of a specific type onto the Timeline, a menu will popup that will offer all the templates which have the asset type in its name.
For example, if you drag a video asset onto the Timeline you will get offered a popup menu with all the templates which have *Video* in them.
## Setting variables
To set layer variables, you can of course use the controls in the Properties window. However, there are many drag-and-drop actions that will make your workflow faster.
### Drag & drop
For example, if you you drag any object or asset onto a layer, all variables with the correct type will get set with that object or asset. This means that if you drag a video asset onto a layer, all variables of video asset type will get set with that video asset.
{% hint style="info" %}
**Good to know**: as a practical example, if you have a video layer and you want to assign a video asset to it, simply drag that video asset onto that layer.
{% endhint %}
Or if you drag a mapping, say, a video screen, onto a layer, all Mapping variables will get assigned to that mapping.
{% hint style="info" %}
**Good to know**: as a practical example, if you have a video layer and you want to assign it to a particular mapping, simply drag that mapping onto that layer.
{% endhint %}